Open your design file
Open the Community listing and launch Clip Path Generator in the Figma file where you want to work. Follow Figma’s prompts if the plugin needs permission to run.
CLIP PATH FOR FIGMA
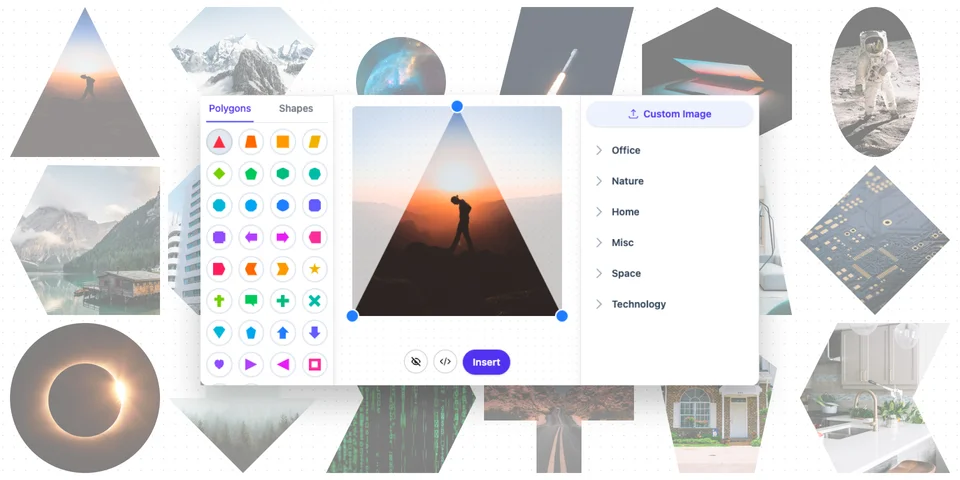
Clip images where your design already lives. Use the Clip Path Generator plugin to shape an image, refine its composition and bring the result into your Figma canvas.
FROM SOURCE TO COMPOSITION
Open the Community listing and launch Clip Path Generator in the Figma file where you want to work. Follow Figma’s prompts if the plugin needs permission to run.
Use an image you have permission to use. Choose a clipping shape in the plugin and check the subject’s position in its preview before inserting.
Insert the result into your design, then inspect the crop and size alongside the rest of the layout. Keep your original image when you expect to make changes later.
Break up a rectangular grid with a shaped portrait or supporting image. Check that the crop still reads clearly at the final layout size.
Use a consistent shape treatment across a concept board or a set of feature illustrations without moving your composition into another design application.
This edition works inside Figma. It is the appropriate starting point when the finished asset belongs in a design file. Use the web editor for standalone browser exports, or an extension when your source is a webpage capture.
CURRENT LICENSE COVERAGE · Compare licenses
Your Figma Clip Path Generator Gumroad key unlocks the Figma plugin plus companion web and Chrome/Firefox access. Browser access does not consume an extra native-plugin seat. Adobe Express and Miro remain separate native editions.
No. Clipping changes the visible boundary of an image. It does not turn its photographic detail into vector paths.
Use the plugin when you are composing in Figma. Use the web editor when you want to upload a local image and download a standalone asset.
New to image clipping? Learn how to shape an image or choose the right export format.